Create a Flower Garden
Creating a Flower Garden for Cut Flowers
Planning Your Flower Garden
Have you ever dreamed of being able to simply walk into your own flower garden and pick fresh blooms to display in your home? When considering designing a flower garden, dedicated to producing vibrant cut flowers and foliage throughout the year, you must consider the following; the beds should be positioned in a sunny spot with well-draining soil. For a year-round bloom, plan your garden to include a variety of plants that flower at different times.
Plants Selection
For continuous blooms, include:
- Spring: Tulips, Daffodils, and Alliums
- Summer: Roses, Peonies, and Lilies
- Autumn: Chrysanthemums and Dahlias
- Winter: Hellebores and Pansies for highlights
Winter Planting
While flower arranging in spring, summer, and autumn offers a wide variety of plants to choose from in a flower garden, winter poses a unique challenge. The colder months see a reduction in blooming flowers, making it crucial to plant species that can provide foliage, texture, and even the occasional bloom during this time. Planning a flower garden with winter interest in mind ensures that you have access to greenery and flowers for arrangements year-round. Incorporating plants like Hellebores, Witch Hazel, and evergreen shrubs can keep your arrangements lively and diverse even in the harshest months. The following plants can add depth, colour, and texture to your winter arrangements and a must for a flower garden:
Winter Favourites
- Hellebores (Helleborus): Their leaves provide deep green, leathery texture to arrangements.
- Heuchera: Known for their colorful leaves in shades of purple, silver, and green.
- Dusty Miller (Senecio cineraria): Offers silvery foliage that adds contrast and texture.
- Euphorbia: Some varieties have evergreen foliage with interesting shapes and textures.
- Ivy (Hedera): Provides trailing greenery with its variegated or deep green leaves.
- Mahonia: Has spiky, dark green leaves that add height and texture.
- Skimmia: Compact evergreen with dense green leaves.
- Boxwood (Buxus): Small, glossy leaves, great for structured greenery in arrangements.
- Witch Hazel (Hamamelis): Not only for its fragrant, spidery flowers but also for its leafy branches.
- Camellia: Glossy, dark green leaves provide a luxurious backdrop for any arrangement.
- Pittosporum: Offers a variety of foliage types and colours, from green to variegated.
These plants offer a range of textures, colors, and shapes for winter arrangements without relying on traditional evergreen trees.
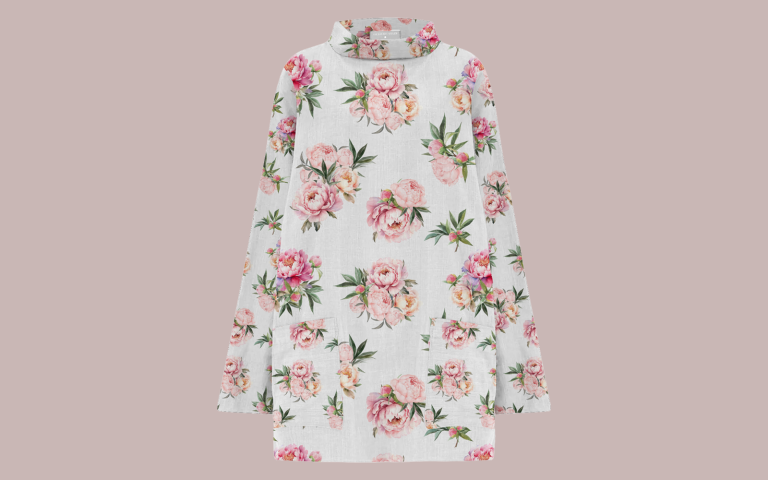
My Favourite Easy-to-Grow Flowers
If vibrant, colorful arrangements captivate your heart as they do mine, the following selection is tailored just for enthusiasts like us. In curating a cutting garden, the ideal candidates are those with lengthy stems and an extended vase longevity. Below, discover a curated list of exquisite flower types (alongside their seeds) perfect for planting in a flower garden with the sole purpose of cutting and arranging.
easy growers
- Zinnias – Zinnias are a top choice for cutting gardens. They come in a variety of colours and sizes, have long, sturdy stems, and last a long time in vases.
- Sunflowers – With their bright and large blooms, sunflowers are perfect for adding a statement to any arrangement. They also come in various sizes and colours beyond the classic yellow.
- Cosmos – Cosmos are dainty and offer a whimsical touch to bouquets. They have fine, ferny foliage and flowers in shades of white, pink, and deep burgundy.
- Dahlias – Dahlias are beloved for their diverse colours and intricate bloom shapes. They can range from small, delicate flowers to large, dinner plate-sized blooms.
- Snapdragons – Snapdragons add height and a range of colours to arrangements. They have a long vase life and their blooms open progressively, giving a long-lasting display.
- Sweet Peas – Sweet peas are known for their sweet fragrance and delicate flowers. They are great for adding both colour and scent to bouquets.
- Ranunculus – With their rose-like blossoms, ranunculus are a favourite for wedding bouquets and sophisticated arrangements. They offer a palette of colours from white and yellow to deep burgundy.
- Lisianthus – Lisianthus flowers resemble roses and come in many colors. They have long, strong stems and a long vase life, making them perfect for arrangements.
- Peonies – Peonies are prized for their large, fragrant blooms and are a popular choice for spring bouquets. They do best in cooler climates and can provide blooms for many years once established.
- Stock – Stock flowers offer a lovely fragrance and spikes of densely packed flowers, great for adding texture and scent to any bouquet.
When planting these flowers, consider their individual needs for sunlight, water, and soil type to ensure they thrive and produce the best blooms for cutting. Also, think about staggering your planting times or choosing varieties with different blooming periods to have a continuous supply of fresh flowers throughout the growing season.


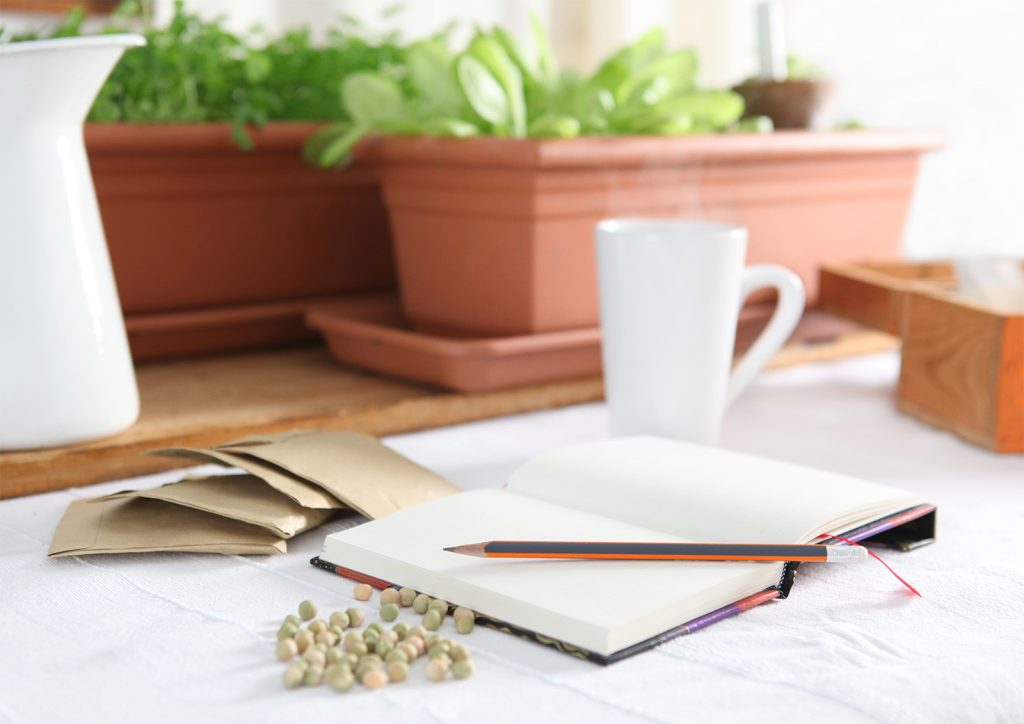
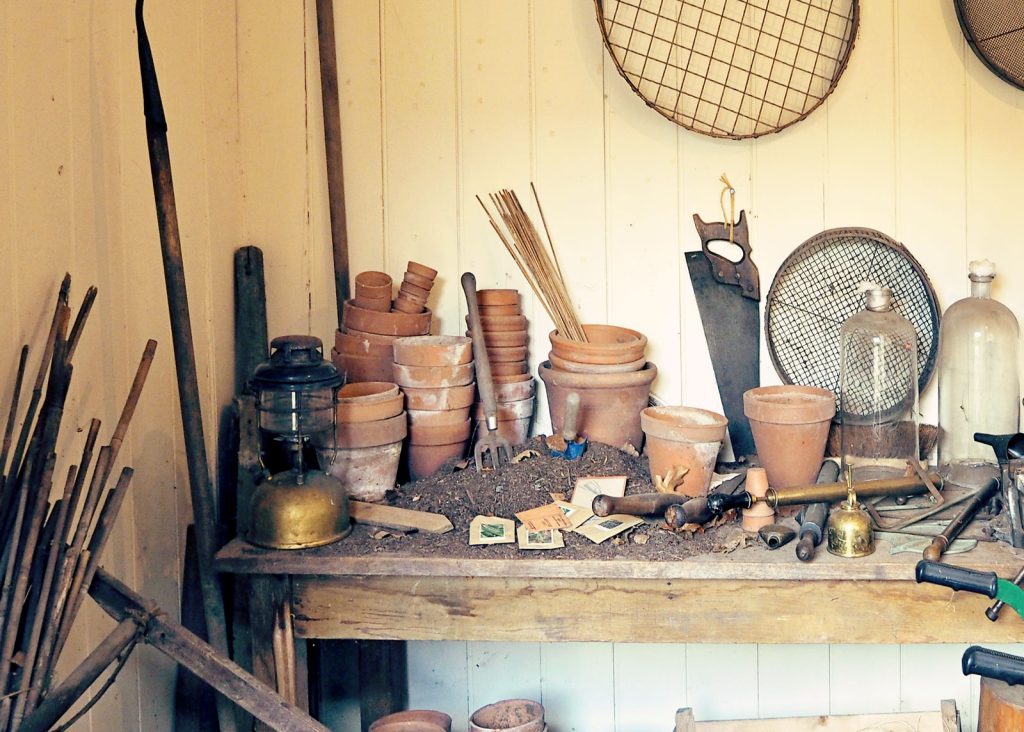
Growing from Seed
Starting flowers from seed is cost-effective and rewarding. Use a greenhouse, a cold frame or a sunny windowsill to start seeds in late winter or early spring. Transfer them to your flower garden after the last frost. Planting seeds is a rewarding process that can be both economical and environmentally friendly. Here are general steps on how to plant seeds, along with thrifty tips for seedling pots and the minimal tools required:

Tools Required:
- Seeds: Choose the types of plants you want to grow.
- Seedling Pots: You can use various recycled materials.
- Soil: Use a good-quality potting mix suitable for seedlings.
- Watering Can or Spray Bottle: For gentle watering.
- Labels: To mark what you’ve planted.
- A Small Tool: For making holes in the soil (a pencil or stick works fine).
Thrifty Tips for Seedling Pots:
- Recycled Containers: Yogurt cups, egg cartons, toilet paper rolls, or paper cups can be excellent seedling pots. Ensure they have drainage holes poked at the bottom.
- DIY Newspaper Pots: Create biodegradable pots out of newspaper. These can be planted directly into the ground, reducing transplant shock.
- Plastic Food Trays: Clear plastic containers from baked goods or produce can act as mini-greenhouses for seed germination.
Steps to Plant Seeds:
- Prepare Your Pots: If using recycled materials, clean them thoroughly and make sure they have drainage holes. Fill them with moist potting soil, leaving some space at the top.
- Plant the Seeds: Read the seed packet for specific planting depths and spacing. As a general rule, plant seeds at a depth of about two times their width. Use your tool to make holes in the soil, drop the seeds in, and gently cover them with soil. For very small seeds, you might sprinkle them on top of the soil and lightly press them down.
- Water Gently: Use a spray bottle or a watering can with a fine rose to moisten the soil without uncovering the seeds. The soil should be kept moist but not waterlogged.
- Label: Use labels to remember what you planted where, especially if you’re planting multiple varieties.
- Provide Warmth and Light: Seeds often require warmth to germinate, so placing them in a warm spot can help. Once they sprout, make sure they receive plenty of light. A sunny windowsill or a grow light can prevent seedlings from becoming leggy.
- Transplanting: When seedlings have grown their first set of true leaves (the second set of leaves to appear), they are usually strong enough to be transplanted into larger pots or the garden, depending on the weather and plant type.
- Hardening Off: Before planting outdoors, gradually acclimate your seedlings to outdoor conditions over a week to prevent shock. This process is called “hardening off.”
By utilising recycled materials and following these steps, you can start a garden with minimal investment, promoting sustainability and the joy of growing your own plants from seeds.
Tools & Equipment
- Gardening gloves
- Trowel
- Spade
- Watering can or hose
- Seed trays and pots
- Compost and mulch
- Stakes or supports for tall plants
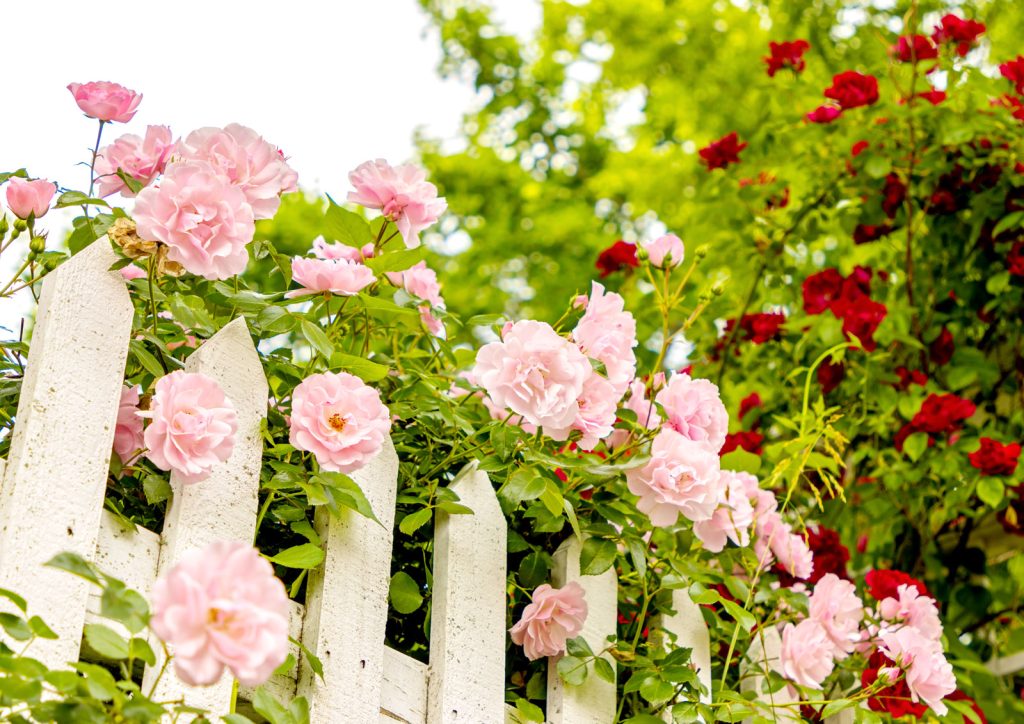
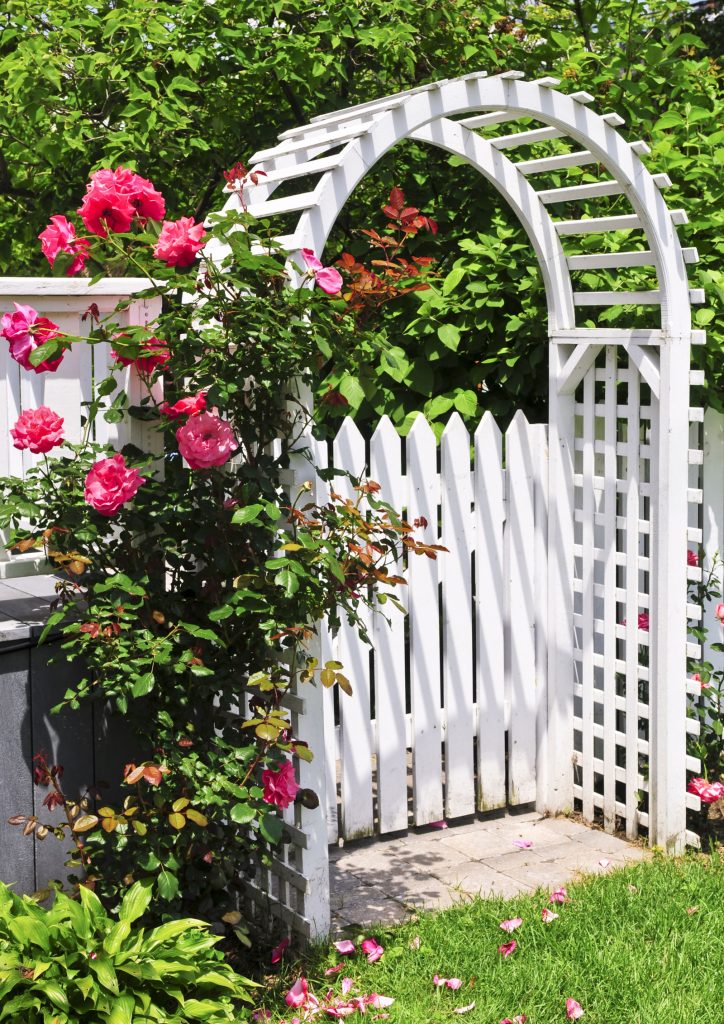
Fences and Arches
For a picturesque boundary, choose a white picket fence and an arched gateway. These can be wooden for a classic look or metal for durability. Climbing roses or clematis will add charm to the archway.
Building a rustic picket fence involves selecting weather-resistant wood like cedar or redwood, cutting it into pickets, and securing them to rails and posts embedded in the ground. For a rose arch with a gate, use the same wood to create an arched frame, attach a gate using hinges, and ensure stability by anchoring the structure deeply in the ground. Plant climbing roses near the base of the arch to achieve a natural, rustic look as they grow and intertwine with the structure. For those looking to build a rustic picket fence and a rose arch with a gate, there are several resources available online that provide comprehensive guides and video tutorials to help you through the process.
Picket Fence
The Farmhouse on Boone website offers a detailed tutorial on building a picket fence, which includes materials needed, tools required, and step-by-step instructions. This guide also covers the process of measuring and cutting stringers, installing pickets, and finishing with paint or stain to achieve a rustic look
Rustic Chicken Wire
Another YouTube tutorial by Jesse Mullen shows the making of simple but very nice looking wood and chicken wire fence, focusing on a DIY approach with a gate, which could be particularly useful for those planning to include an arched gateway in their design. I’ve curated an Amazon list of the items you will need here at my Amazon storefront.
For constructing a rose arch with a gate, you might consider adapting the basic structure of a picket fence gate and incorporating an arched design. Using climbing plants like roses or clematis will add a rustic charm to the archway over time.
Remember, the key to achieving a rustic style is choosing the right materials (such as untreated wood that will age naturally) and allowing climbing plants to grow freely over the structures. With patience and care, you can create a beautiful entrance to your garden that combines the charm of a picket fence with the natural beauty of a rose-covered archway.

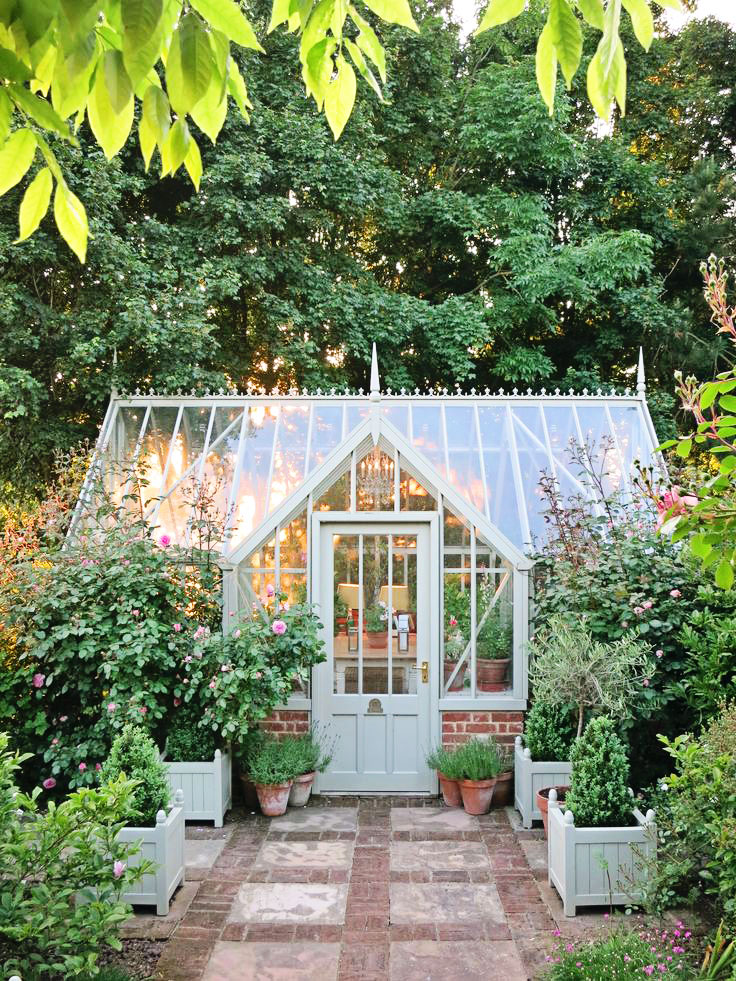
Greenhouse and Potting Shed
Customising your greenhouse or shed not only enhances its functionality but also provides a delightful opportunity to infuse your personal style into these spaces, making them truly yours. Whether you prefer classical elegance or lean towards the rustic aesthetic, embrace the charm and uniqueness of your garden by painting your greenhouse or shed in a colour that reflects your personality.

Whether it’s a serene blue that echoes the sky, a vibrant green that melds with the garden, or a cheerful yellow that brings sunshine even on cloudy days, the right paint colour can transform these structures into standout features of your garden.
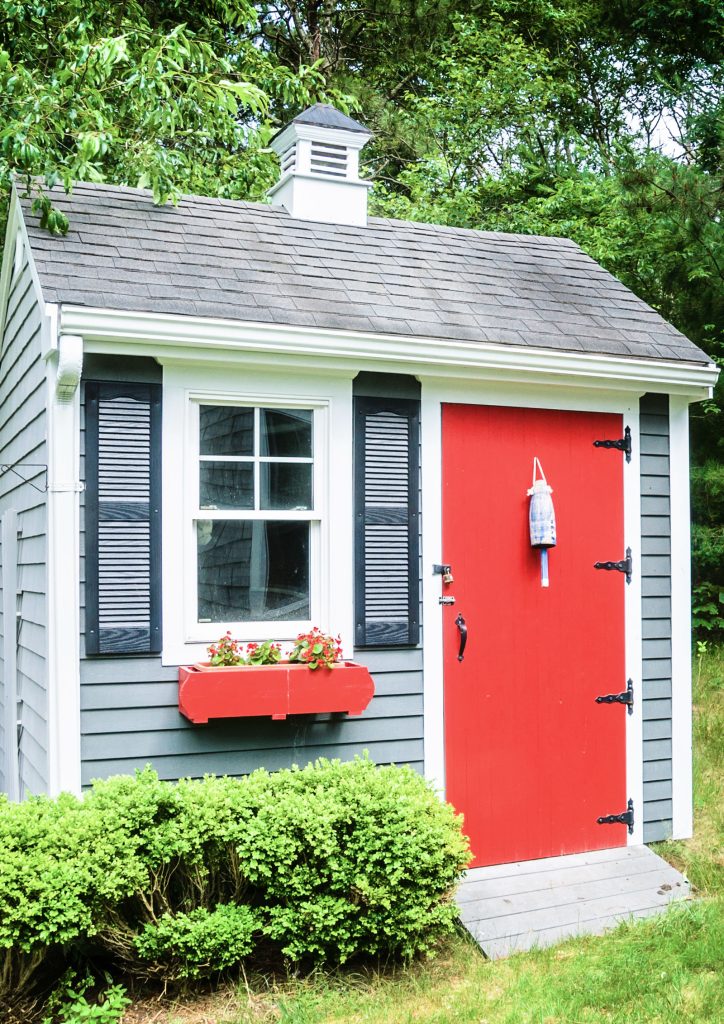
Adding window boxes to sheds filled with a seasonal array of flowers or herbs not only beautifies your greenhouse or shed but also creates a lively and welcoming sight. These miniature gardens can mirror the larger landscape around them or serve as a canvas for your experimental plantings.
Pathways & Seating
Consider laying a dedicated pea gravel pathway leading up to and around your shed or greenhouse. This not only defines the journey through your garden but also adds a crunch underfoot, heightening the sensory experience of your outdoor space. Line this path with coordinating planters filled with plants that complement or contrast with the surrounding garden, creating a cohesive and curated look. The addition of a small gravelled seating alcove in a sunny spot next to your greenhouse or shed, creates a peaceful and pleasing place to relax and enjoy a cup of tea, whilst admiring the fruits of your labour.
Seasonal rustic wreaths and garlands adorning the exterior of your shed or greenhouse can further enhance its charm and appeal. These natural decorations bridge the gap between the built structure and its natural surroundings, inviting a sense of warmth and festivity throughout the year.
Lighting
Lastly, fairy lights can introduce a whimsical or enchanting ambience to your greenhouse or shed, especially at twilight or during the evening. Draped along the roofline, over potted trees, or strung across window frames, fairy lights can transform your garden structure into a magical retreat, inviting you and your guests to linger in your outdoor sanctuary even after the sun has set.
By personalising your greenhouse or shed with these touches, you not only create functional garden structures but also craft spaces that reflect your identity, style, and the essence of your garden. This personalisation makes every visit to your greenhouse or shed a truly unique and enjoyable experience.
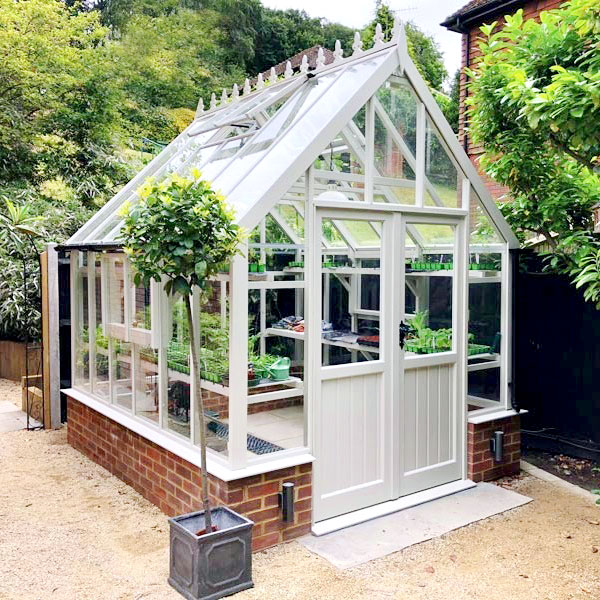
Select a small, aesthetically pleasing greenhouse to fit your space, with clear or frosted glass panels. A matching potting shed, possibly in a cottage style, should provide storage for tools and a workspace for potting plants. Opt for quality materials and finishes to achieve that luxurious magazine look.
When planning, consider the orientation for maximum sunlight and ensure both structures complement the overall garden design. Incorporate shelving inside the greenhouse for plants and a workbench in the shed for convenience.
Garden Essentials


Leave a Reply